October 21, 2002
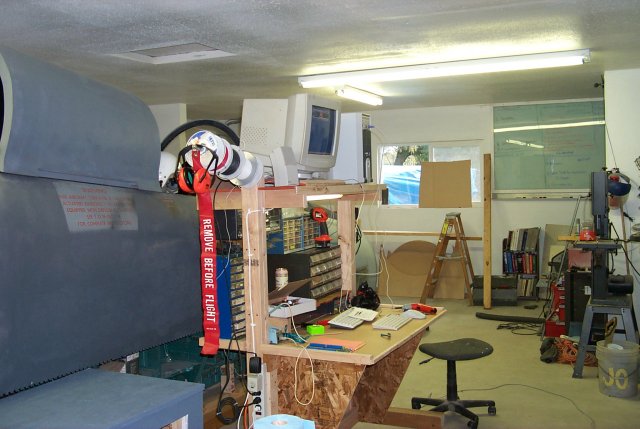
 Nice to see the old cradle gone! The new cradle is much better and there
is more room around the fuselage in which to work. Gone are the days
of tripping over the outriggers while working on the forward bays. :)
Nice to see the old cradle gone! The new cradle is much better and there
is more room around the fuselage in which to work. Gone are the days
of tripping over the outriggers while working on the forward bays. :)
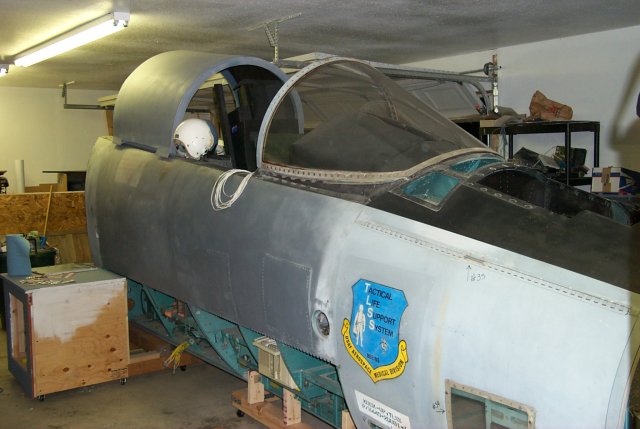
 This shows Robbi's HGU-26 helmet sitting where it belongs. On the canopy
rail!
The loop of white cable is for the 8 circuit breakers that will be installed
in the center pedestal. They're special "simulator" breakers. They're
labeled for the correct amp rating for the location, but they'll all pop
at 250mA which means I can pop them remotely without any problems.
This shows Robbi's HGU-26 helmet sitting where it belongs. On the canopy
rail!
The loop of white cable is for the 8 circuit breakers that will be installed
in the center pedestal. They're special "simulator" breakers. They're
labeled for the correct amp rating for the location, but they'll all pop
at 250mA which means I can pop them remotely without any problems.
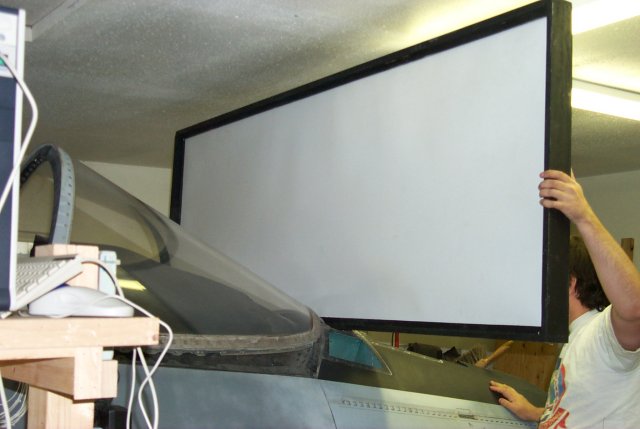
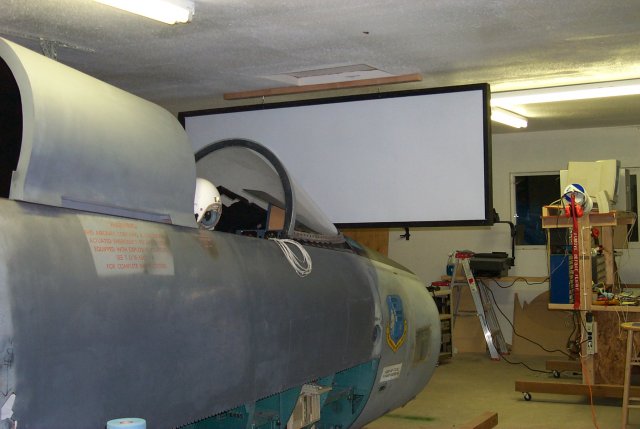 This is the setup used for the projection test on the new screen.
The screen itself is .030 ABS sheet The frame is 8 feet wide and just a little
over 3 feet high.
Unfortunately, the .030 screen blocks most of the light coming from the other
side. We're going to test again with a similar screen made with 200 thread
count white cloth. In the quick & dirty test we did a few months ago, I
expect the results to be much better.
This is the setup used for the projection test on the new screen.
The screen itself is .030 ABS sheet The frame is 8 feet wide and just a little
over 3 feet high.
Unfortunately, the .030 screen blocks most of the light coming from the other
side. We're going to test again with a similar screen made with 200 thread
count white cloth. In the quick & dirty test we did a few months ago, I
expect the results to be much better.
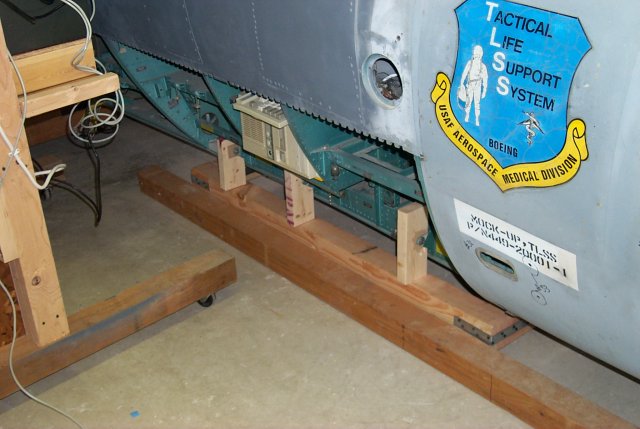 This is the new forward cradle. The 2x4 uprights are actually bolted to the
original door latch pins.
This is the new forward cradle. The 2x4 uprights are actually bolted to the
original door latch pins.
 The rear half of the cradle has two small work surfaces plus cabinets.
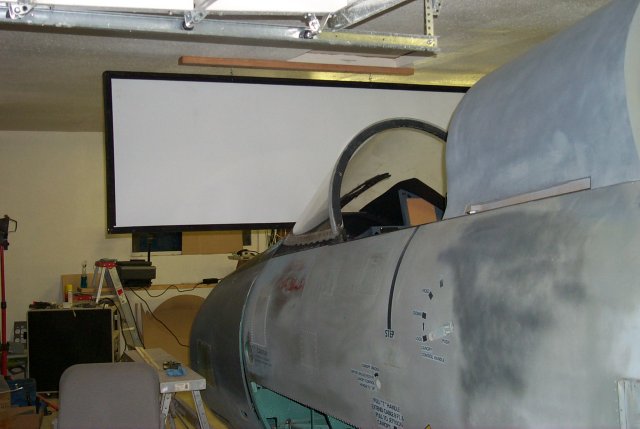 This is the viewscreen in its "official" position. Rob did a great job with
this!
This is the viewscreen in its "official" position. Rob did a great job with
this!
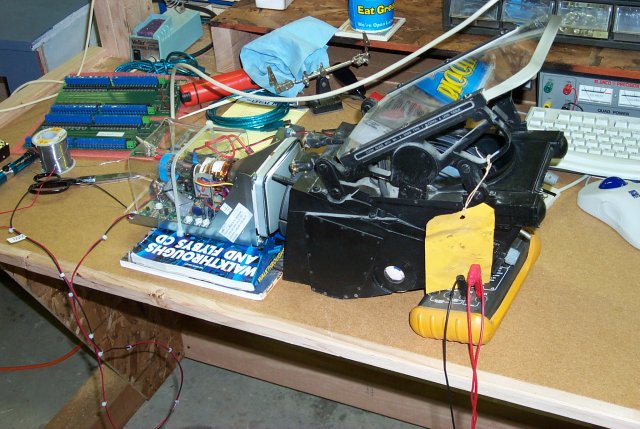 This is the A7 HUD that will be used. The F-15C uses a HUD that has a dual
combining glass system, so this will not be as accurate as I'd like.
This is the A7 HUD that will be used. The F-15C uses a HUD that has a dual
combining glass system, so this will not be as accurate as I'd like.
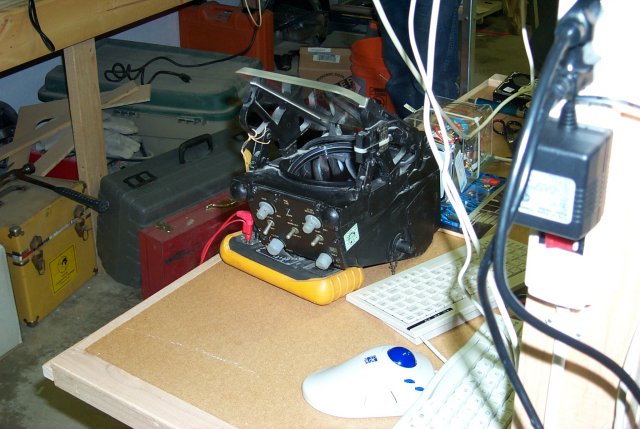 Here's a look from the front.
 This is the "test" positioning of the screen.
 Say hello to Benchzilla, or what we refer to as Martha F'ing Stewart.
This is a rolling computer/eletronics bench that started out as three
lines on a bit of paper and promptly got WAY out of control.
Say hello to Benchzilla, or what we refer to as Martha F'ing Stewart.
This is a rolling computer/eletronics bench that started out as three
lines on a bit of paper and promptly got WAY out of control.
 The idea was to give me a more portable (so it can be moved around to
various parts of the sim) and more comfortable place to work. I think
it turned out great!
The idea was to give me a more portable (so it can be moved around to
various parts of the sim) and more comfortable place to work. I think
it turned out great!
Back to the Misc. Page