This past week has seen some great progress on the panel front.
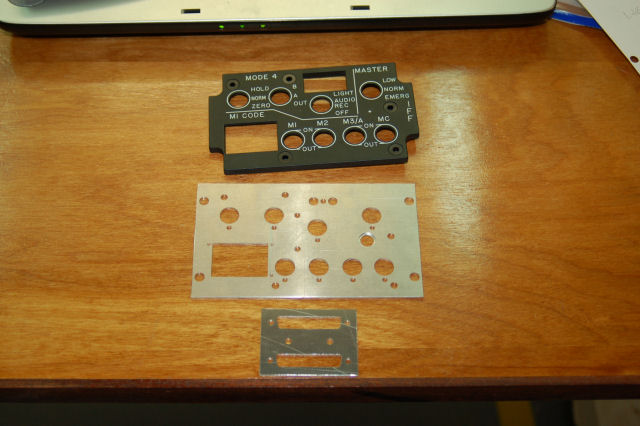
First up is the nearly completed IFF panel. After breaking a few tools due to feeding too fast, I was finally able to get the parts for the IFF mounting plate cut:
The connector mounting plate is designed to accept the two DB25 connectors that are needed to wire up this panel. The plate is connected to the main part by two 4″ hex standoffs.
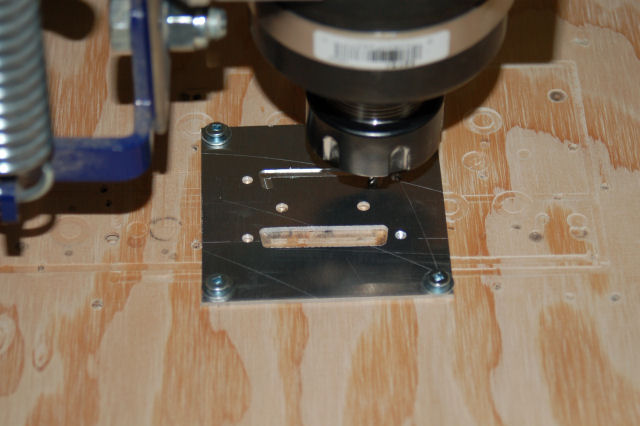
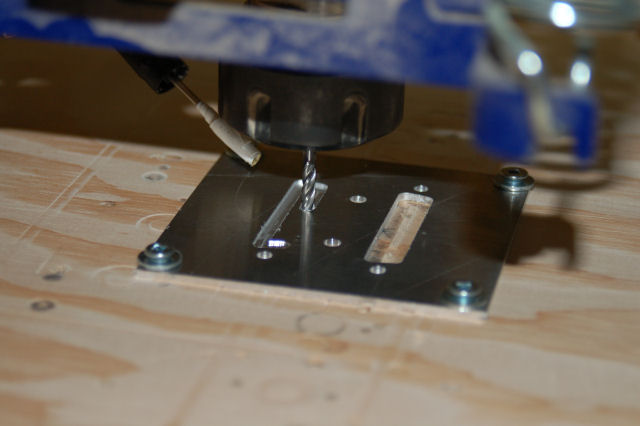
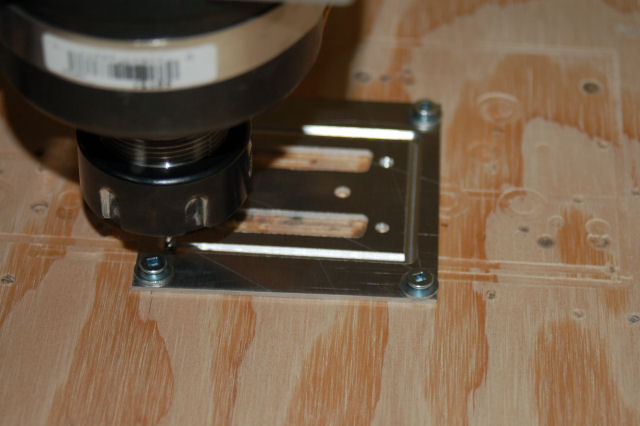
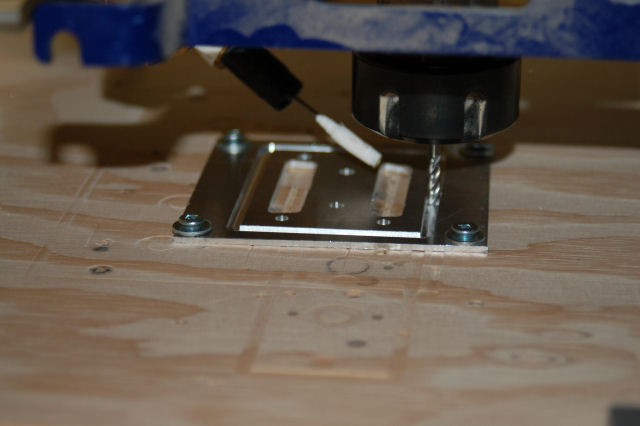
Here are some pics of the connector plate being cut – the bit looks stopped, but is actually spinning at 6600 RPM.
The little tube with the white tip is a ball-inflator needle connected to an air-compressor. It blows air at 90psi on the cutter to keep it cool. This works for small bits in lieu of using a flood coolant. The downside is that there are little aluminum chips everywhere.
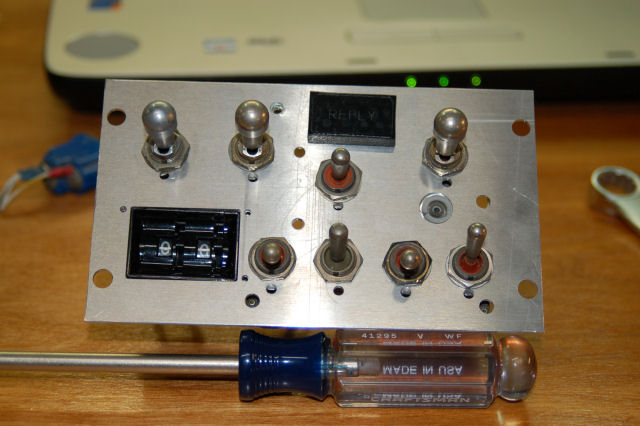
Here’s what the main panel looks like with all the parts mounted:
The three locking toggle switches are not the correct parts – the lock style is correct, but the bat handles are not. You can see what the correct toggle switches look like in this post. I’m going to hold off on final assembly for a little while to see if I can find the right switches. The other issue is the fit for the rotary wheel switches. It knocks up against the toggle switch next to it. I’ve got a different unit that has a bit of a narrower profile that I’ll be trying this week.
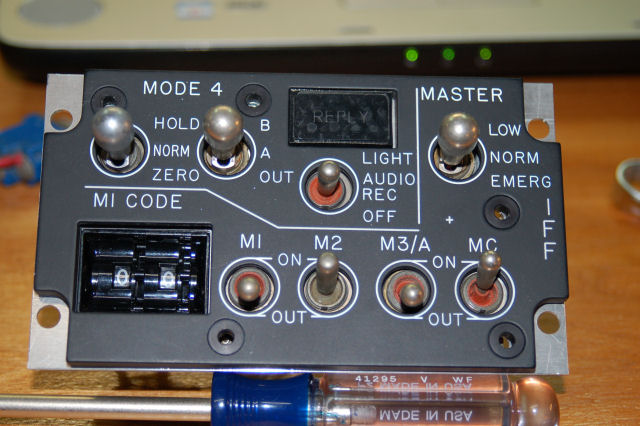
Here’s what it looks like with the edge-lit panel installed:
The REPLY indicator came out really nice. There are some marks from the honeycomb grid in the laser, but they can be buffed out easily.
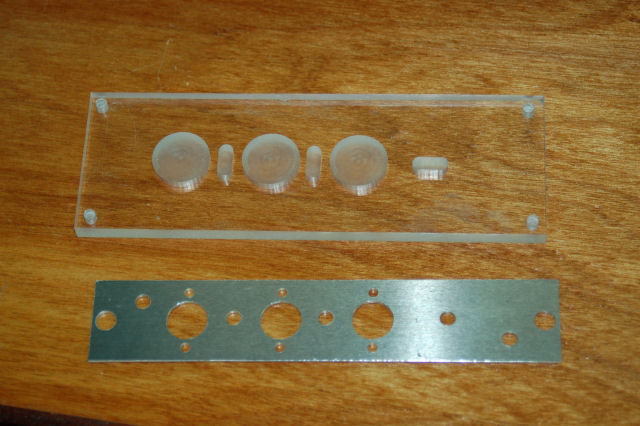
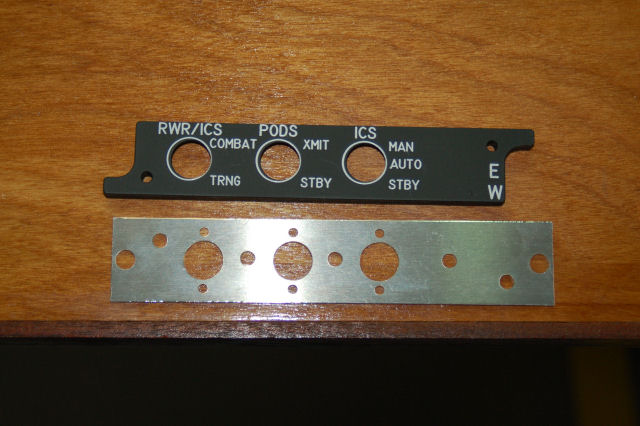
I also got the edge-lit panel for the EW (Electronic Warfare) completed, as well as it’s mounting plate.
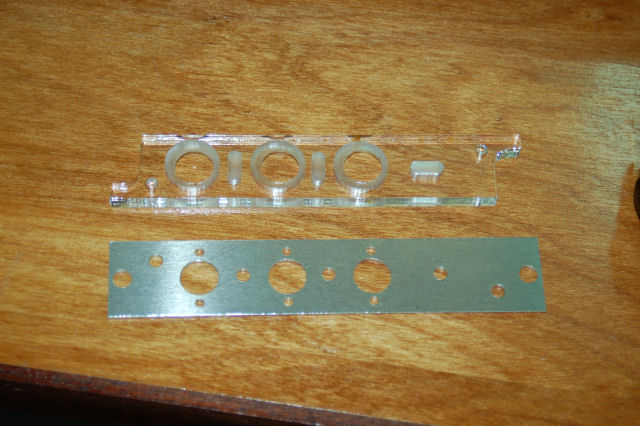
The picture above shows the edge-lit panel blank right off the ‘bot. I’ve cut pockets in the panel to accomodate the switch nuts and the LEDs that will be used for the internal lighting. From here, the blank goes into the laser for final cutting:
This is the panel right off the laser. As you can see, the switch holes are a bit off center from the back pocketing. This is due to a slight alignment issue between the ShopBot and the laser engraver that I haven’t quite got sorted out yet.
Finally, here’s the EW panel after final paint & lettering:
This panel uses three locking toggle switches that I don’t yet have. I’m hoping to find then in the next week or so.
Until next time…..
Comments
Leave a Reply



Alex on 06.08.2009
Hey Gene – is there a reason why all the images just say “Welcome to http://www.f15sim.com” ?
admin on 06.08.2009
That was due to a re-write rule I had in place to discourage some deep image linking that was going on. I don’t know why WordPress triggered it though. You should be glad I decided against using the goase.cx image instead. 🙂
I’ve turned off the re-write rule. Let me know if it still causes a problem.
Thanks!
g.
Valisk_61 on 06.25.2009
Hi Gene, I’m afraid I was responsible for a couple of the deep image links.
I posted them on a CNC forum as an example of the sort of final quality I’m trying to achieve.
I’ve since removed the references – sorry for any inconvenience.
Val
Valisk_61 on 06.25.2009
PS: I’ve got loooooads of questions for you! Should I ask them here or over on SimHQ where other users can offer comments too?
Thanks!
Val ~S~
admin on 06.25.2009
Val, you’re welcome to replace the links, it’s ok. The deep linking problem I had involved an arabic language forum that just gave me the willies. 🙂
Can you point me to the thread where you were linking the images to? I’d like to read it.
admin on 06.25.2009
SimHQ works for me. 🙂
g.
Valisk_61 on 07.15.2009
Thanks Gene.
I’ll dig the link out.
I’m still compiling my cut lists and finalising the design – I have a ton of notes and questions, a lot of the stuff on your site has helped IMMENSELY, thanks so much for taking the time to post it, really appreciated.
I’ll post on your thread on SimHQ when I’m in a position to start work in earnest.
Thanks again.
Val ~S~
Tim Brown on 02.23.2010
I had the chance to fly a real F-15 sim at Bitburg AB, when we were relocated TDY from Spangdalem AB, in the mid-80’s. The sim had no visual display, but I managed to shoot down 2 aircraft one with a AIM-7 and with an AIM-9. I did an ILS landing with no visual out the windscreen.
Anyway I have the utmost respect for what you are doing, in spite of the ITAR regs calling for the complete grinding up of all parts to DEMILL them. Keep up the good work!
tim
Haris on 10.18.2011
Hi, and thank you for your beautiful site and effort.
I can not understand the step after painting with black paint the transparent acryl.
I see you mask it in order to paint it but can not understand the steps to get this beautiful letters and lines on white colour able to emit light.
can you please explain me?
Do you engrave them with laser cutter? is it possible to happen without problems in the paint? what about the letters? you say this is the final part after painting and lettering? can you explain how lettering happens?
thank you !
admin on 12.27.2011
Harris, the panels are painted with a couple of coats of white, followed by a couple of coats of black. I then use my Epilog Mini-24 laser engraver to remove only the black paint by doing multiple passes that take only a little bit of paint at a time. It’s a time consuming process but the results are just as good as the commercial processes used for “real” Type 5 edge-lit panels.
g.
Jake on 01.10.2013
Were did you get the Locking Bat Toggle Switch? i have been looking for them for ages!
admin on 01.10.2013
Jake, I’ve had those switches for ages. I don’t recall where I got them.
g.